Best Eco Friendly Home And Kitchen Products On Amazon
Eco Friendly Home And Kitchen Products: In today's world, where environmental conservation and sustainability are becoming increasingly crucial, individuals are ...

Best Eco Friendly Home And Kitchen Products On Amazon
Eco Friendly Home And Kitchen Products: In today's world, where environmental conservation and sustainability are becoming increasingly crucial, indiv ...
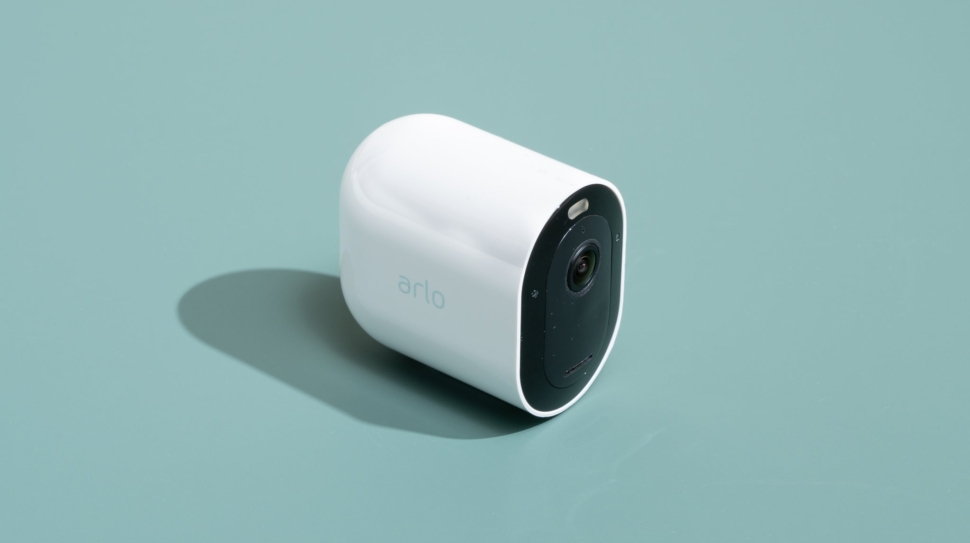
Best Spy Camera With Longest Battery Life: Top Picks for Extended Surveillance
The best spy camera with the longest battery life is the SimpliSafe spy camera, which offers top-notch features and exceptional battery performance. ...

Best Vacuum For Stairs 2023 – Finding the Perfect Cleaning Companion
The best vacuum for stairs is the Shark Navigator Lift-Away ADV Upright Vacuum. It offers great performance and versatility, making it perfect for cl ...
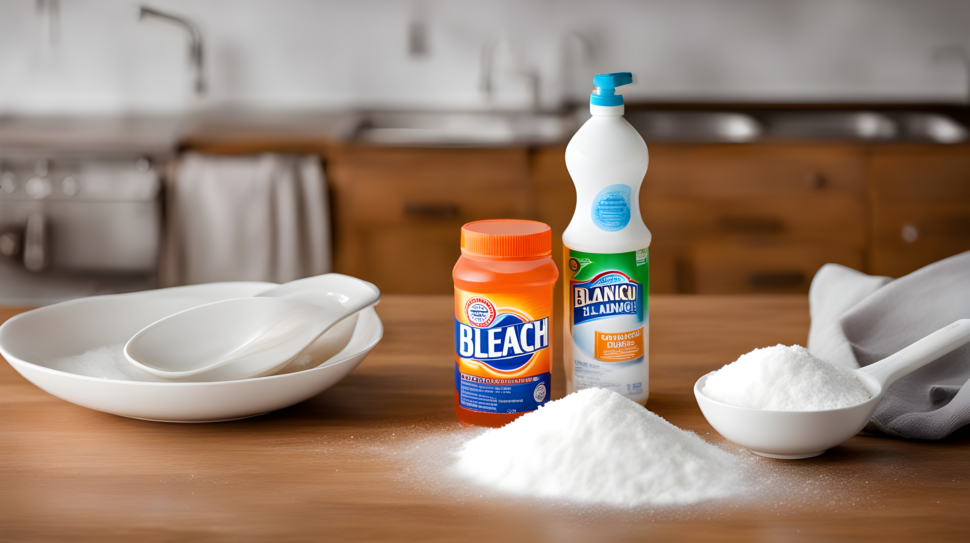
Bleach and Baking Soda: The Dynamic Cleaning Duo You Need
Mixing bleach and baking soda is not recommended. The two substances, when combined, can damage surfaces and cancel out each other's cleaning propert ...


Best Vacuum For Stairs 2023 – Finding the Perfect Cleaning Companion
The best vacuum for stairs is the Shark Navigator Lift-Away ADV Upright Vacuum. It offers great performance and versatility, making it perfect for cl ...

Minimalist Playroom: Simplify and Play
A minimalist playroom can be achieved by providing a neutral base through choosing neutral paint colors, furniture, storage, and rugs, allowing color ...

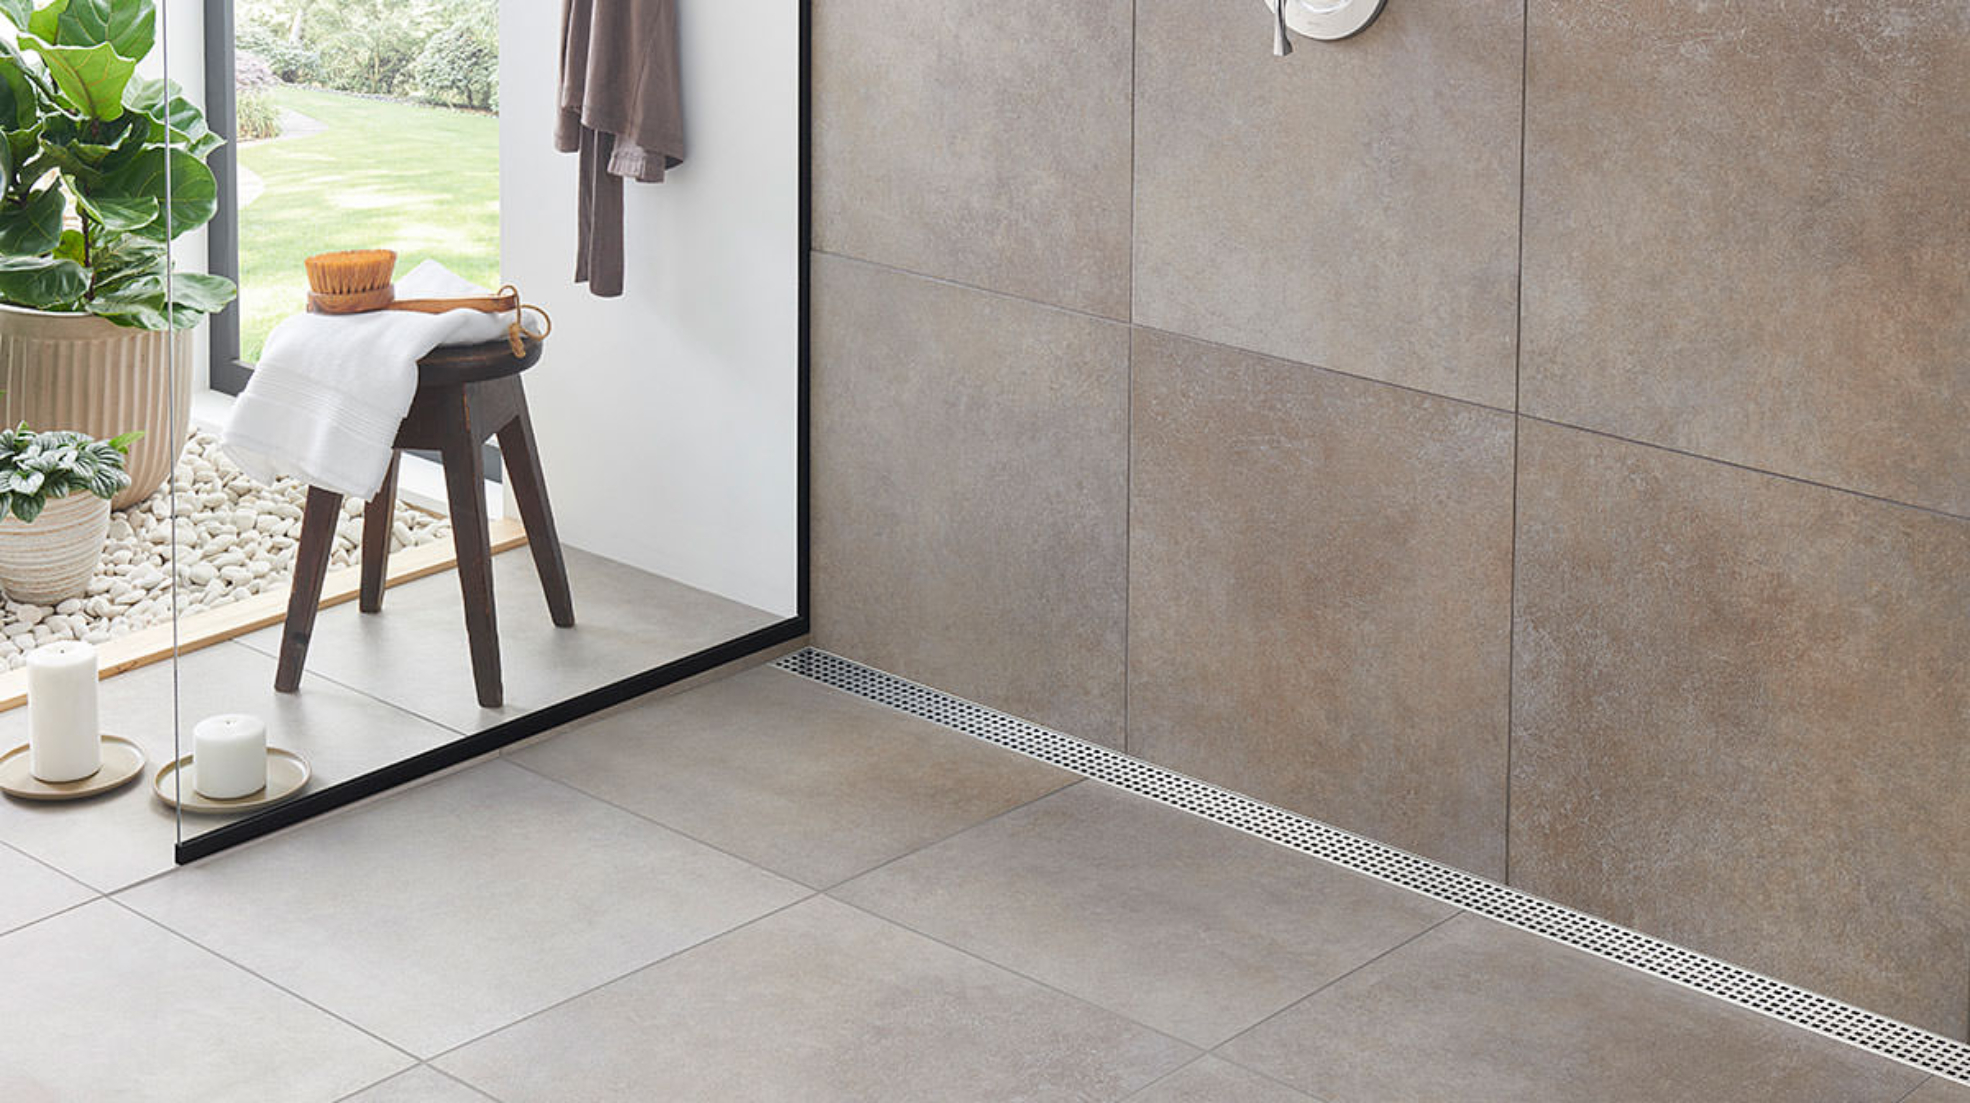
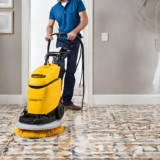
How to Use a Tile Cleaning Machine in 2023
A tile cleaning machine is one effective way to achieve a sparkling finish. Keeping your tiles clean and well maintained not only improve the esthetic ...